
Agent management
An agent is a single chatbot with its own knowledge base, settings, and appearance. You can have multiple agents in one organization — for example for different websites or languages, or as a test agent next to the live bot. This page describes how to create an agent, switch between agents, and delete an agent.
1. Creating a new agent
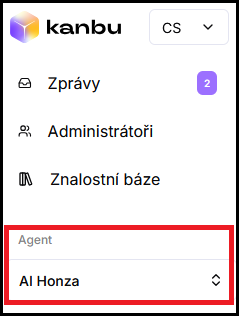
- In the left menu, click the agent switcher (name of the current agent).
- In the expanded list, select Add new.
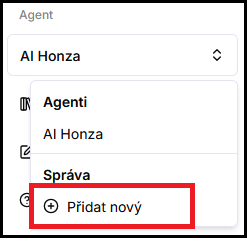
- The Create chat screen opens — identical in content to agent configuration. All settings are preconfigured, so you can simply click Save and the agent is created.
If you want, you can edit the name, welcome message, or other options when creating the agent — but it is not required; everything can be adjusted later in agent configuration.
Note: There is no “duplicate agent” action yet. A new agent starts with default settings — copy configuration from an existing agent manually.
1.1 Test agent next to the live bot
Kanbu has no separate staging environment. Playground uses the same settings as the agent on the website — a saved change also applies to visitors.
When you want to try personalization, appearance, or behavior without affecting the live bot:
- Create a new agent (steps above) and name it e.g. “Test”.
- Give it access to the same data as the live agent via Shared data sources across chatbots.
- Tune settings on the test agent and verify in its Playground (Share on Configuration).
- Apply finished changes to the live agent, or deploy the test agent's script to the website.
An extra agent has no separate fee — only credits consumed by queries are billed.
2. Switching between agents
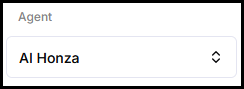
Switch between agents using the same agent switcher in the left menu — select an agent from the list and the entire app (knowledge base, conversations, settings) switches to it.
3. Agent settings
You can edit an existing agent at any time in its configuration. Individual settings are described in separate sections:
- Appearance, bubble, text, and placement — see Chatbot appearance.
- Behavior, tone, and response style — see Response customization.
4. Deleting an agent
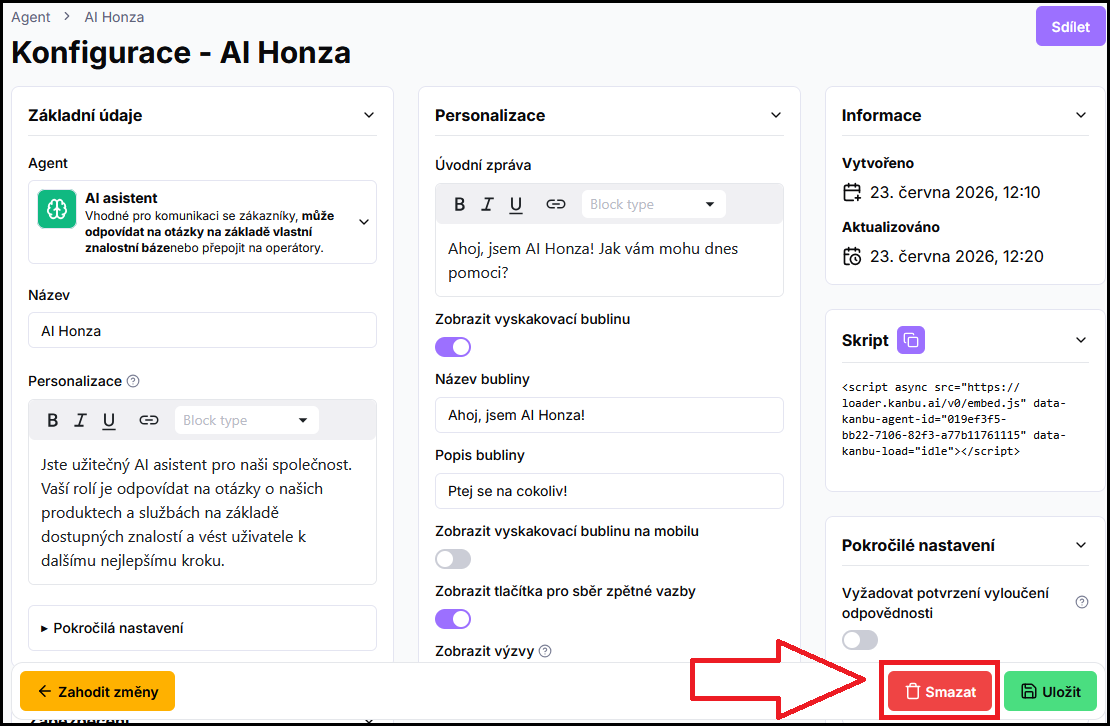
Delete an agent in its configuration with the Delete button.
⚠ Deletion is irreversible — the agent is removed along with its data and all conversation threads.
Frequently asked questions
-
Where is a test environment separate from the live bot on the website?
There is no separate staging environment. Playground uses the same settings as that agent. For safe experiments, create a second agent with shared sources — see Test agent next to the live bot.
-
How do I duplicate / copy an existing agent?
Direct duplication is not available yet. Create a new agent and copy settings (appearance, personalization, FAQ…) manually. You do not need to re-upload data — grant access via shared sources.
-
Is there a fee for an extra agent?
No. There is no extra charge for the number of agents — only credits consumed by queries are billed.
Related
- Playground — testing and sharing a preview
- Shared data sources across chatbots
- Managing multiple agents
- Chatbot appearance — chatbot appearance and behavior
- Response customization — tone and communication style
- Access and roles — who has access to agents