
Organization management
An organization encompasses your agents, data, administrators, and subscription. This page describes how to edit its basic details, how to create another organization, and how to delete an organization.
1. How to do it
Open organization settings as follows:
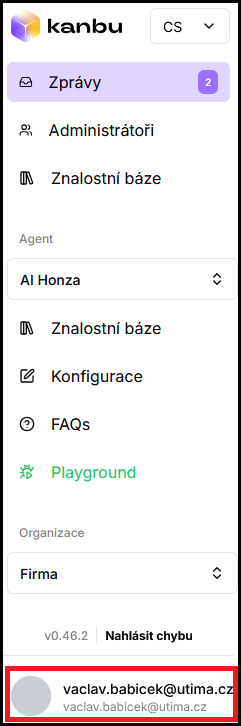
- In the bottom-left corner of the app, click your name and email.
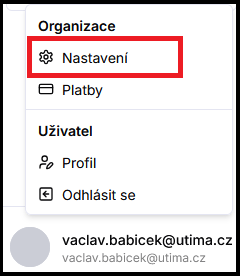
- Select Settings.
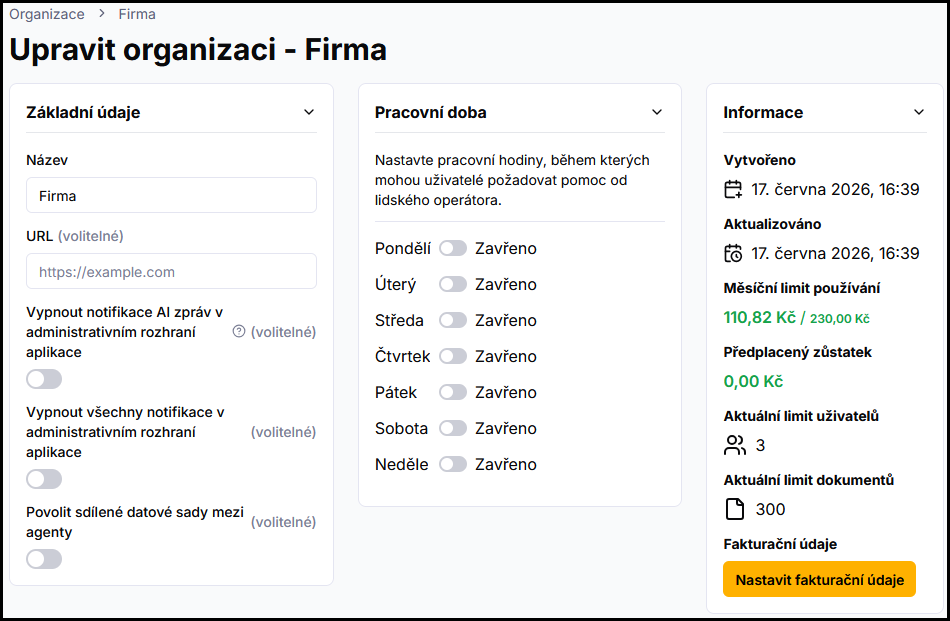
- The Edit organization screen opens with settings divided into two sections — Basic details and Business hours.
2. What gets configured
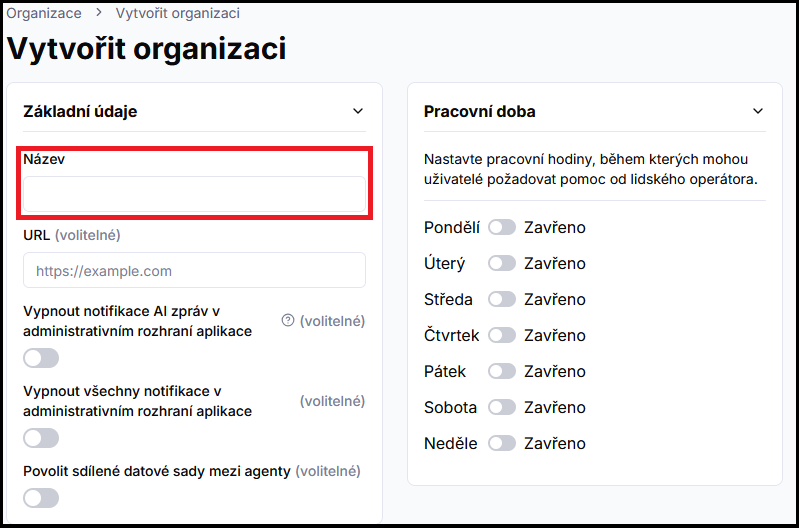
- Name — organization name displayed in the app.
- URL (optional) — your company's website address.
- Disable AI inbox notifications (optional) — hides unread badges for AI-mode threads. Operator handoff emails and live-chat notifications stay enabled.

- Disable all inbox notifications (optional) — turns off unread badges and operator handoff emails. Details in Live chat.
- Allow shared datasets between agents (optional) — lets multiple agents draw from the same sources. Details in Shared data sources between chatbots.
- Business hours — days and hours when live connection is available in chat (Yes, connect me) and when the user sees the “typically within 2 minutes” expectation. Outside those hours — or when no open hours are set — the button is hidden; the contact card and the agent’s explanation remain. More in Operator handoff and Live chat.
Confirm changes with the Save button, or discard them with Discard changes.
3. Multiple organizations
You can have multiple separate organizations — each has its own agents, data, and subscription.
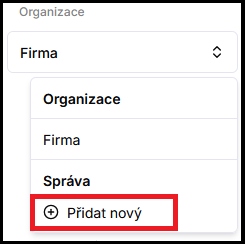
- In the left navigation menu, click the organization switcher.
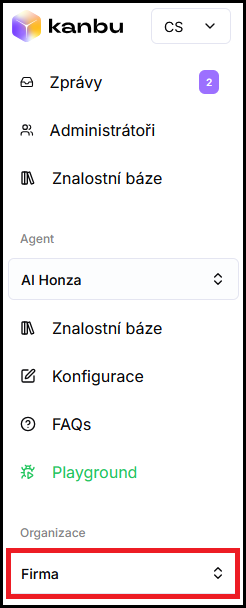
- In the expanded list, select Add new.
- On the Create organization screen, fill in Name (other fields are optional) and click Save.
You then switch between organizations using the same switcher.
4. Deleting an organization
Delete an organization on the Settings page with the Delete button (bottom right).
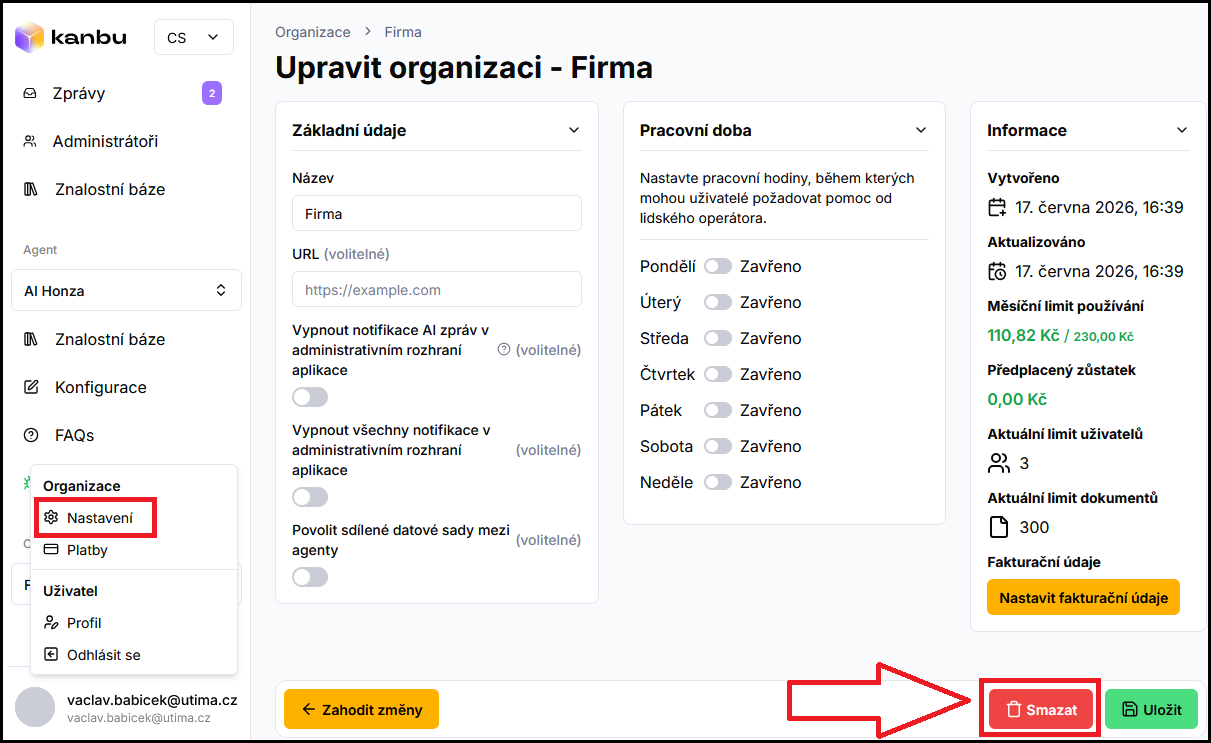
⚠ Deletion is irreversible — the entire organization is removed, including all agents, data, and conversation history.
Related
- Agent management — creating and removing agents
- Access and roles — inviting colleagues and setting roles
- Payments — organization subscription and billing