
Adding sources
Data sources are the foundation of what your chatbot knows — web pages and documents it draws answers from. This page describes how to add them to Kanbu.
1. How to do it
The most common approach is adding a website as a whole.
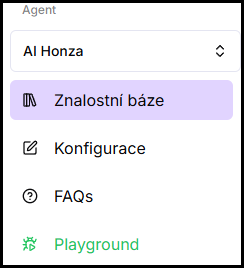
- In the left menu under the selected agent, open Knowledge base.
- Click the +Add documents button.

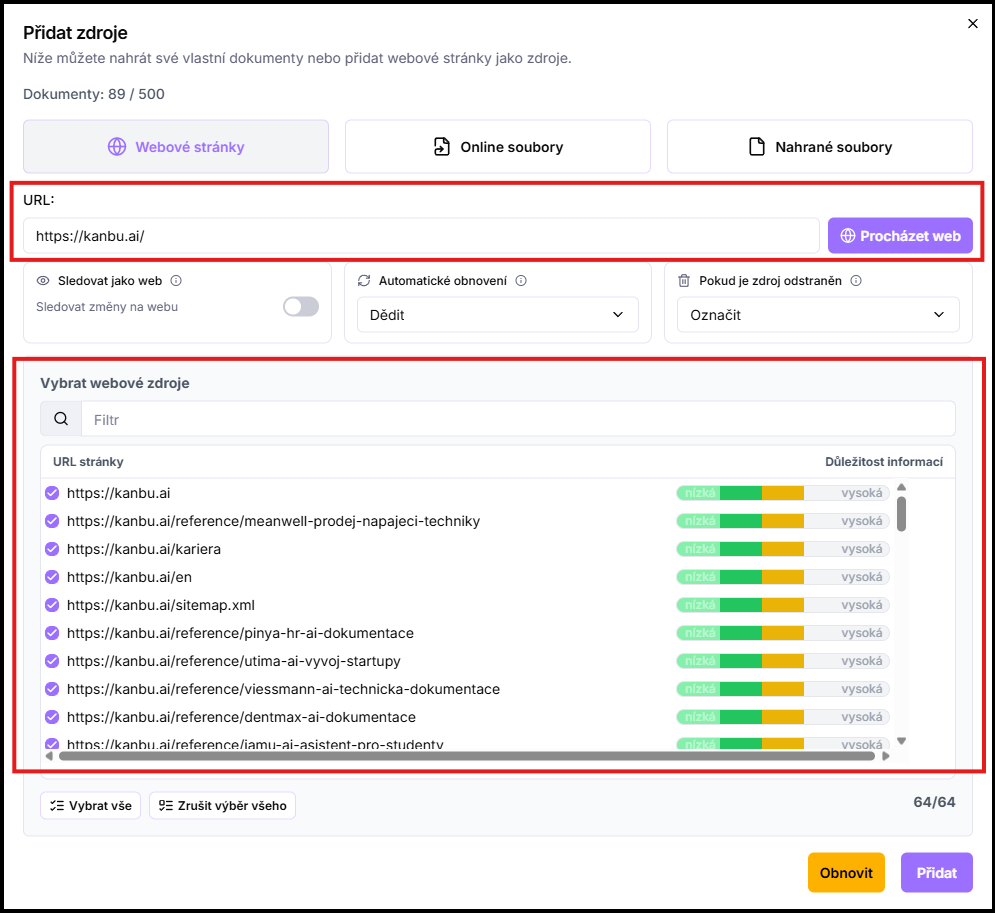
- Paste your website URL into the field (e.g.
https://www.yourwebsite.com). - Click Browse website. Kanbu will crawl the website and return a list of available subpages.
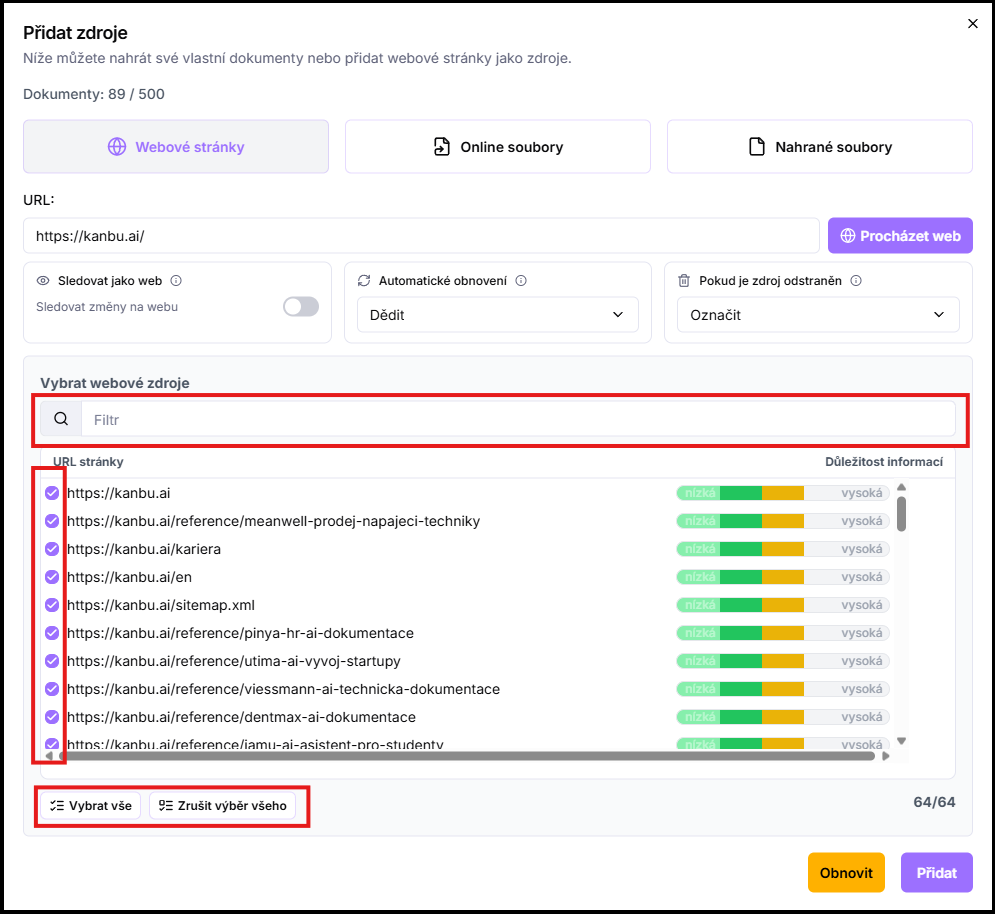
- Filter the found subpages — remove those the chatbot doesn't need to know (for example language duplicates, archived articles, career pages, technical URLs). For quick selection, use the search filter: type a keyword (for example
blog) and the list will show only URLs containing that word. Bulk actions Select all and Deselect then apply only to this filtered selection — so you can quickly remove all blog pages at once, for example.
- (Optional) Configure additional options — agent access, website monitoring, automatic refresh, behavior on removal. See What you can configure when adding below.
- Click Add.

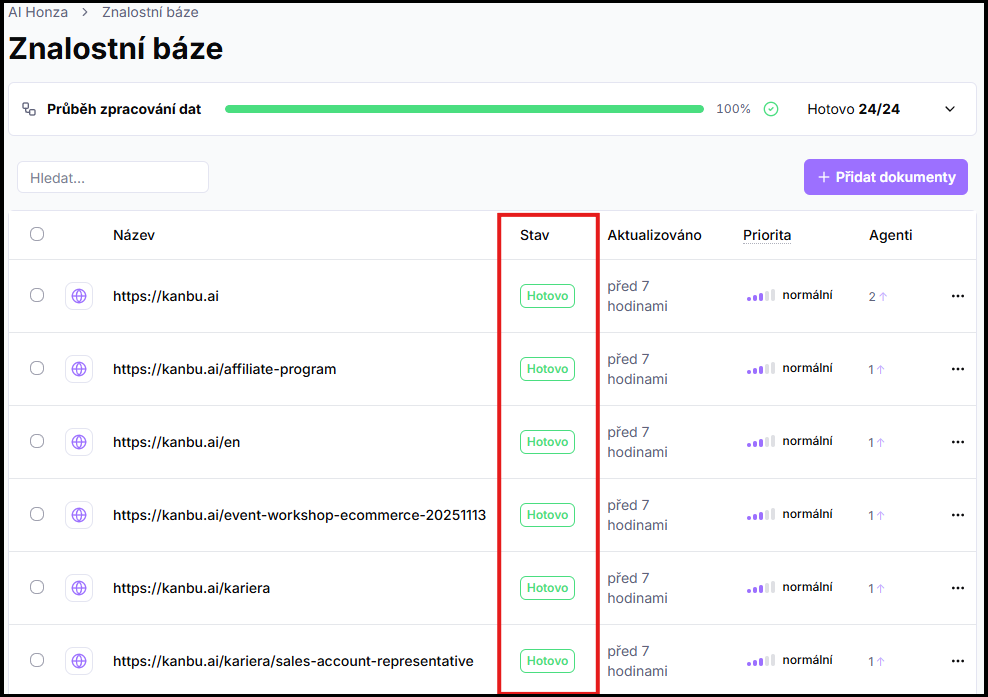
Sources are queued for processing. For each one you can see the current status (Parsing, Embedding, Done, Error). When Done appears, they're ready to use.
2. When you have specific files
Besides the Web pages tab, the Add documents window offers two more tabs:
- Online file — if you have a direct link to a file (for example a PDF available from the web), paste the URL in the Online file tab and click Add. Kanbu processes it more accurately than through the Web pages tab.
- Uploaded files — if you have files on your computer, drag them into the drop zone in the Uploaded files tab. You can add multiple files at once.

Details in Shared data sources across chatbots.
3. Example use case
A language school adds its website jazykovka.cz as a source. After clicking Browse website, Kanbu finds 145 subpages — course descriptions, pricing, schedules, instructor profiles, FAQ, blog posts, and career pages. The operator deselects career pages, archived schedules from past semesters, and older blog posts. 82 pages remain. They click Add and after a few minutes Done appears in the Status column.
4. Supported sources
- Web pages — any publicly accessible URL
- Documents — Word (.docx), PDF (.pdf), RTF (.rtf), Markdown (.md), plain text (.txt), HTML (.html, .htm), EPUB (.epub)
- Spreadsheets — Excel (.xlsx), CSV (.csv)
- Google Drive — a publicly shared folder that Kanbu tracks and syncs automatically. Details in Google Drive.
- RSS / Atom feed — a blog, news, or press-release feed as a live source. Details in RSS feed.
PDF: Kanbu can only read machine-readable PDFs (text). Scanned documents or flat image text (typically marketing flyers exported as PDF) cannot be read by Kanbu.
E-commerce agents have a separate Feed menu for product XML — that's not part of standard source addition. Details in E-commerce agent.
5. What you can configure when adding a source
-
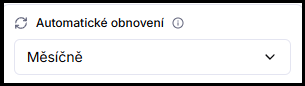
Automatic refresh (requires a paid plan)
Determines how often Kanbu checks whether the source content has changed and when to automatically download a new version. More details in Updating sources.
-
Website monitoring (requires a paid plan)
For web sources you can enable monitoring — Kanbu then periodically crawls the website and reports new, changed, or removed pages. More details in Website monitoring.
-
Behavior on removal
Determines what happens when Kanbu detects during a monitored website check that the source no longer exists on the website. Options: Flag (keep in the database, just mark as removed), Remove (automatically remove), or Ignore (take no action).

-
Agent access (available only in the organization Knowledge base)
Choose which agents will have access to the source — either a specific selection from the dropdown menu, or the Available to all agents toggle. Settings can be changed anytime later. More details in Shared data sources across chatbots.

6. For organizations with multiple agents
If your organization has multiple agents, it's clearer to use the Knowledge base menu at the organization level for source management. It shows all sources across the organization in one place, lets you choose any combination of agents when adding (or the Available to all agents toggle), and similarly adjust access to existing sources afterward. For single-agent organizations, the choice between the two Knowledge bases makes no practical difference.
Frequently asked questions
-
How long does source processing take?
It depends on website size. Smaller websites (up to 100 subpages) are usually done within a few minutes; larger catalogs can take tens of minutes. You can close the app in the meantime — processing runs in the background.
-
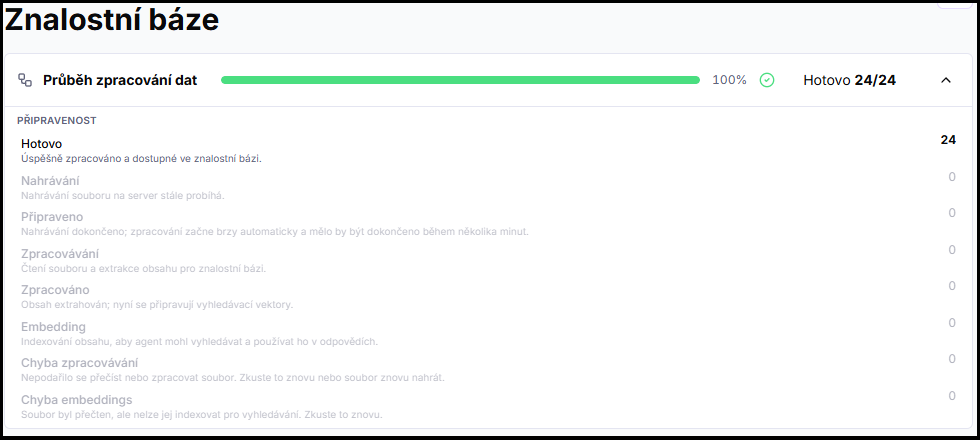
What do processing statuses mean?
Parsing is downloading and reading content, Embedding is converting it into a form the agent can search. Done means the source is ready to use. Processing error means the file couldn't be read or processed; Embedding error means the file was read but couldn't be indexed. For a failed source, rerun processing via the three-dot menu on the source row → Refresh data. Clicking a status above the list lets you show only sources in that status.
-
How do I delete a source?
Select the source in the list and in the three-dot menu above the list choose Delete. Alternatively, use the three-dot menu directly on the source row. Deletion applies across the entire organization — if multiple agents had access to the source, they all lose it at once.
-
Can I delete multiple sources at once or work with them in bulk?
Yes. More details in Bulk actions.
-
What happens if I add the same URL again?
Kanbu won't create a duplicate. Instead of adding a new record, it refreshes the existing one.
Related
- Google Drive — syncing a public Drive folder
- RSS feed — following an RSS/Atom feed
- Source prioritization — source weight for search
- Updating sources — automatic refresh and management after adding
- Website monitoring — periodic crawling and page statuses
- Shared data sources across chatbots — working with sources across multiple agents
- Bulk actions — bulk operations on sources